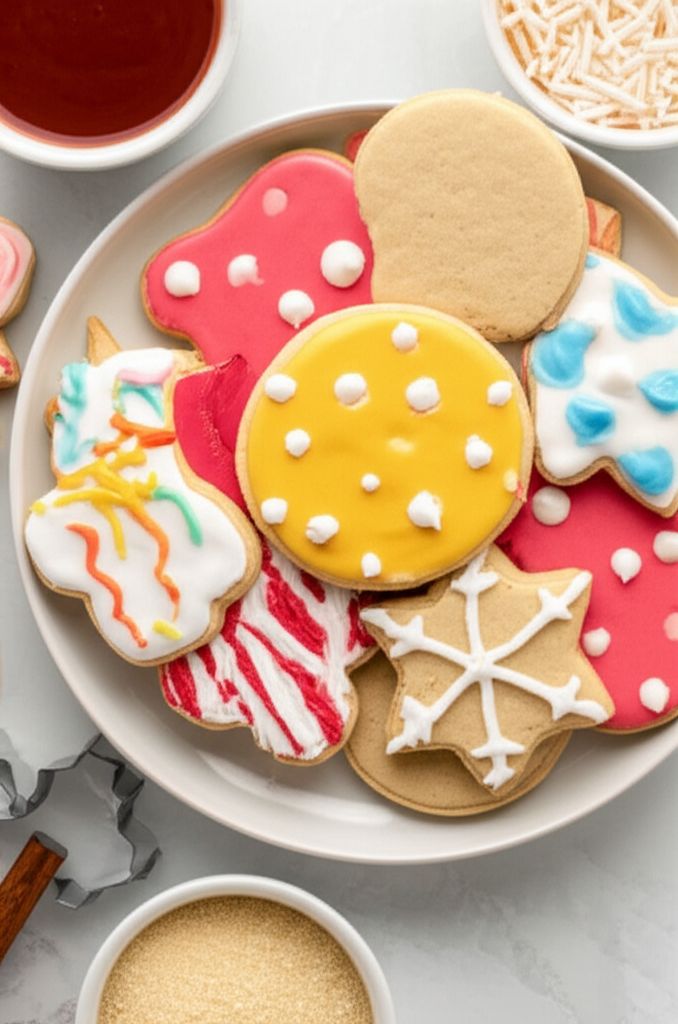
For best results, ensure the butter is properly softened before creaming. This will help create a smooth and light cookie dough. Chilling the dough is crucial for preventing the cookies from spreading too much during baking. Don't skip this step! If you don't have a piping bag, you can use a plastic sandwich bag with a small corner snipped off to apply the icing. Feel free to customize the icing with food coloring for a more vibrant and festive look. Store the finished cookies in an airtight container at room temperature to maintain their freshness.
Halloween Ghost Cookies

-
PREP TIME45 mins
-
COOK TIME6 mins
-
TOTAL TIME3 hrs 6 mins
-
SERVING90 People
-
VIEWS9
Transform simple ingredients into adorably spooky ghost cookies, perfect for Halloween treats or festive baking. These delightful cookies offer a whimsical alternative to traditional candies, sure to enchant both young and old with their charming design and delicious flavor.
Ingridients
Adjust Servings
Nutrition
-
Carbohydrate9 g
-
Cholesterol8 mg
-
Fiber0 g
-
Protein1 g
-
Saturated Fat2 g
-
Sodium36 mg
-
Sugar5 g
-
Fat3 g
-
Unsaturated Fat0 g
Follow The Directions
01
Step
5 mins
In a large bowl, cream together the softened butter and 1 1/2 cups of confectioners' sugar using an electric mixer until light and fluffy. (5 minutes)
02
Step
2 mins
Beat in the egg and 1 teaspoon of vanilla extract until well combined. (2 minutes)
03
Step
2 mins
In a separate bowl, whisk together the flour, baking soda, cream of tartar, and salt. (2 minutes)
04
Step
3 mins
Gradually add the dry ingredients to the creamed mixture, mixing until just combined. Do not overmix. (3 minutes)
05
Step
1 hrs
Wrap the dough in plastic wrap and chill in the refrigerator for at least 1 hour to prevent spreading during baking. (60 minutes)
06
Step
10 mins
Preheat oven to 400 degrees F (200 degrees C). (10 minutes)
07
Step
15 mins
Lightly flour a clean work surface. Roll out the chilled dough to about 1/4 inch thickness. Use a tulip-shaped cookie cutter (or freehand ghost shapes) to cut out cookies. If using a tulip cutter, remove the stem portion with a knife to create a rounded ghost shape. (15 minutes)
08
Step
5 mins
Place the cut-out cookies onto ungreased baking sheets. (5 minutes)
09
Step
8 mins
Bake in the preheated oven for 6 to 8 minutes, or until the edges are lightly golden brown. (8 minutes)
10
Step
15 mins
Carefully remove the baking sheets from the oven and transfer the cookies to wire racks to cool completely. (15 minutes)
11
Step
5 mins
While the cookies cool, prepare the icing: In a small bowl, whisk together the remaining 1 cup of confectioners' sugar and 2 teaspoons of milk until smooth. (5 minutes)
12
Step
3 mins
Stir in the corn syrup and 1/4 teaspoon of vanilla extract until the icing is glossy. Add more milk, a teaspoon at a time, if the icing is too thick, or more corn syrup if it is too thin. (3 minutes)
13
Step
20 mins
Transfer the icing to a piping bag fitted with a small round tip. Pipe the icing around the edges of each cookie to create a border, then fill in the center completely. (20 minutes)
14
Step
10 mins
While the icing is still wet, gently press two miniature chocolate chips into the icing on each cookie to create the eyes. (10 minutes)
15
Step
1 hrs
Let the iced cookies stand until the icing is completely dry and set, about 1 hour. (60 minutes)
YOU MAY ALSO LIKE

RECIPE REVIEWS
LEAVE A REVIEW
Please Rate
LATEST RECIPES
-
 1
1 -
 2
2 -
 3
3 -
 4
4 -
 5
5
Alva Oconnell
Jun 30, 2025I love that this recipe uses simple ingredients that I usually have on hand. It's a perfect last-minute treat for the kids.
Jonathon Carter
Jun 30, 2025I tried making these with my kids, and they had so much fun decorating them with the chocolate chip eyes. It's a great activity for the whole family!
Helmer Bruen
Jun 28, 2025I substituted gluten-free flour, and the cookies still turned out great! A perfect allergy-friendly option for Halloween.
Felipe Borer
Jun 26, 2025These cookies were a huge hit at my Halloween party! The ghost shape is so cute, and they taste amazing.
Winona Abshirelowe
Jun 22, 2025The icing was a little tricky to get right, but once I added a bit more corn syrup, it turned out perfectly smooth and glossy.